
This tutorial will guide to take a screenshot on Samsung Galaxy F42 5G.
Did you ever thought of a handy solution to print your screen sometimes, like for memories or as a proof. Obviously you know that solution will be there on your Galaxy F42 5G Android Smartphone but don’t know how to do that.
Do not worry because we have got you covered and we have came with this tutorial to take a screenshot on your Samsung Galaxy F42 5G.
Brief intro to Galaxy F42 5G specs
Before going any further let me give you a brief idea about it specs first. The Galaxy F42 5G is a budget Smartphone that comes with a 6.6 inches TFT touchscreen display, 128GB storage 8GB of RAM, triple camera with 64 MP wide resolution, 5000 mAh non-removable battery and much more.
Lets stop this here because if we detail the specs further it will never end, so lets get back to our today’s agenda here, the tutorial to take screenshots on your Galaxy F42 5G SM-E426B.
What is the use of screenshots?
Screenshots will help you to remember a particular page even after years. The screenshot will be in JPG or PNG format so that you can store it anywhere. It is also helpful as a proof of payment. You just need to take the screenshot of the payment page.
The compatible model for this method is;
- Samsung Galaxy F42 5G SM-E426B
Steps to take a screenshot on Galaxy F42 5G
Method-1 using palm swipe
In this method we are going to take the screenshot using a palm swipe. To do that first you need to enable the feature from settings menu if not already did.
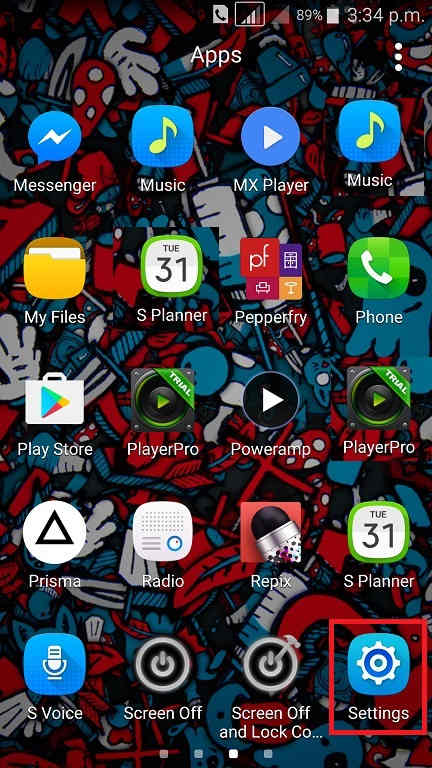
For that tap on “Settings” from the app drawer.
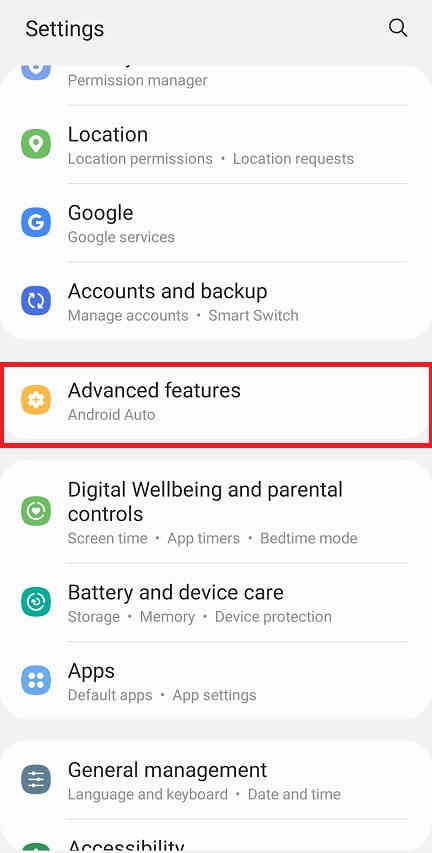
Now scroll down and tap on “Advanced features”.
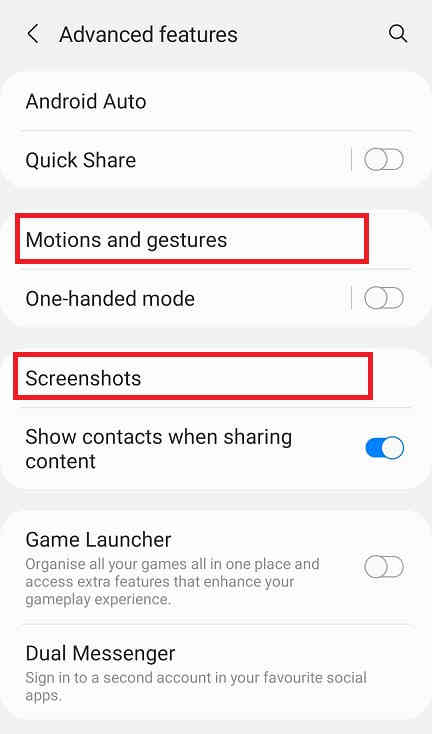
When in “Advanced features” menu tap on “Motion and gestures“.
Once done you will get the below page. Here enable “Palm swipe to capture” if not already did on your Galaxy F42 5G.
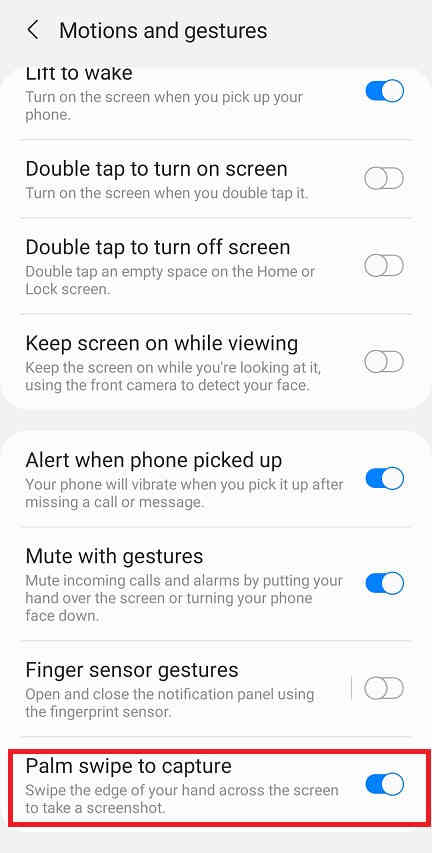
When enabled the switch will turn to blue colour and will get greyed out when disabled.
Now as the feature name suggest just swipe your palm across the screen of which you want to have a screenshot and the image will be saved in the “Gallery” in JPEG or PNG format
However if you want to edit the way the screenshots are saved and need to do some other customization please tap “Screenshots” when in the “Advanced features” main menu. Below given is the “Advanced features” main menu.
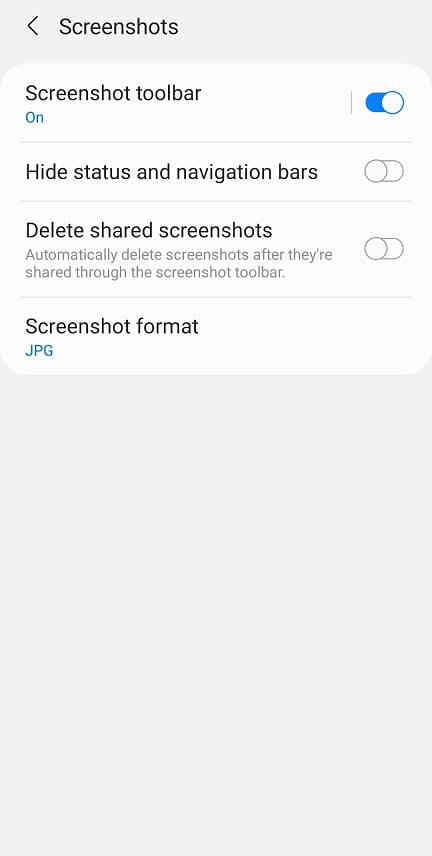
Now you will get the below page. Here you may disable the “Screenshot toolbar“, change the screenshot image format from JPG to PNG etc.
Now lets proceed to the method 2.
Method-2 using key combinations
This method is the most easiest one. Just press and hold the “Vol-Down” + “Power” buttons at the same time to get a screenshot of the current screen.
Normal queries for this tutorial
- How To Take A Screenshot on Samsung Galaxy F42 5G SM-E426B?
- How To Take A Screen print on Samsung Galaxy F42 5G SM-E426B?
If you have faced any issues while trying to take a screenshot on your Galaxy F42 5G, please feel free to post it in the comment section below, don’t worry I will help you as fast I can.
If “How To Take A Screenshot On Samsung Galaxy F42 5G” tutorial really helped you, please give a like/share on social networking websites by using the below given buttons.